


Revitalize Your Hair: DIY Hair Protein Treatment at Home
Let's get real for a moment—dealing with damaged hair is just plain frustrating. If you're constantly fighting with strands that are limp, stretchy, or seem to snap at the slightest touch, your hair is sending out an S.O.S. It's likely crying out for protein, and a good hair protein treatment at home can be exactly what it needs to bring it back to life.
Is Your Hair Crying Out for a Protein Boost?
Ever pulled a brush through your wet hair and noticed it feels almost gummy or mushy? Or maybe your curls, which used to be bouncy and defined, have fallen flat and lost their shape. These aren't just random "bad hair days." They're classic signs that the very foundation of your hair is compromised.
Our hair is mostly made of a tough protein called keratin. Think of it as the building block that gives your hair its strength and structure. But daily life takes its toll. Everything from heat styling and colouring to something as simple as sun exposure—especially in a climate like Egypt's—can chip away at that keratin. This process creates little gaps and tears in the hair's outer layer, the cuticle, leaving it weak, vulnerable, and looking damaged.
The Real Signs of Protein Loss
The first step to fixing the problem is learning to spot it. It goes beyond just looking for split ends; you need to pay attention to how your hair feels and behaves.
Here are a few dead giveaways that your hair is desperate for a protein infusion:
- High Porosity: Does your hair soak up water like a sponge but then dry in a flash? That's a classic sign of high porosity. It means the cuticle is full of gaps that protein can help fill.
- Loss of Elasticity: Take a single wet strand and gently stretch it. If it stretches way more than it should without bouncing back, or if it just snaps with barely any pull, it's begging for protein. Healthy hair has a nice balance of stretch and strength.
- Limp and Stringy Texture: If your hair used to have life and volume but now just hangs there looking sad and stringy, it’s a clear signal it lacks the internal support that protein provides.
- Sticky or Gummy Feel: This is a major red flag. When your hair feels tacky or mushy while wet, it points to severe structural damage. It's an urgent call for a serious reconstructive treatment.
A protein treatment is so much more than a temporary, cosmetic fix. It’s like bringing in a construction crew for your hair, filling in the gaps and rebuilding its internal framework from the inside out. It’s a necessary repair job, not just a pampering session.
This understanding is catching on everywhere. In Egypt, for example, the use of at-home protein treatments has shot up over the last 10 years, part of a larger shift toward more restorative hair care. People are getting smarter about tackling damage at its source. If you're curious, you can learn more about this growing trend and see the global market data.
Choosing the Right Protein for Your Hair
Picking the right hair protein treatment at home can feel a bit like navigating a maze, but it’s actually quite straightforward once you know what you’re looking for. The secret is matching the protein ingredient to what your hair truly needs, based on its texture and current condition.
Forget the flashy marketing on the front of the bottle. Your best bet is to flip it over and get familiar with the ingredients list. That’s where you’ll find the real clues about whether a product will be your hair’s new best friend or just weigh it down.
Decoding the Different Protein Types
When you break it down, hair proteins generally fall into two camps based on their molecule size. Some have tiny molecules that can dive deep into the hair shaft to repair it from the inside out. Others have larger molecules that act like a protective coat on the surface.
You’ll often see “hydrolysed” proteins on the label—this just means they’ve been broken down into smaller bits. This process makes them perfect for penetrating the hair strand to rebuild its internal structure. They're a fantastic choice for fine or moderately damaged hair because they strengthen without adding a lot of weight.
Then you have the bigger guys, like collagen or gelatin. These proteins work by wrapping around the hair strand, essentially patching up any holes in the cuticle layer. This adds instant body, shine, and a protective shield against everyday wear and tear.
A Quick Reference Guide to Protein Ingredients
To make things even simpler, here's a quick table to help you spot the right protein for your hair type on any ingredients list.
| Protein Ingredient Match for Your Hair Type | ||
|---|---|---|
| Protein Type | Best For Hair Type | Key Benefit |
| Hydrolysed Wheat Protein | Fine, Thin, Damaged | Strengthens, adds volume without weight |
| Hydrolysed Silk Protein | All types, especially dry | Boosts elasticity and adds softness |
| Keratin Protein | Coarse, Thick, Very Damaged | Intense repair, mimics hair's natural protein |
| Collagen | Fine to Medium, Limp | Builds body and improves texture |
| Soy Protein | All types, especially processed | Improves hair’s ability to hold moisture |
| Rice Protein | Fine, Thin, Limp | Noticeably increases volume |
Think of this as your cheat sheet when you're standing in the aisle, wondering which bottle to grab. It helps you look past the brand promises and focus on what will actually work for you.
Matching the Protein to Your Hair's Needs
Your hair's texture and porosity are your two biggest clues for choosing a treatment. If you have fine hair, a heavy protein can easily make it feel stiff and brittle. On the flip side, coarse or very damaged hair craves something more substantial to fill in those gaps.
It's all about balance. The aim is to give your hair just enough strength to restore its bounce and elasticity, without overloading it and causing the exact stiffness you’re trying to fix.
Here’s a simple way to think about it:
- For Fine or Low Porosity Hair: You want something light. Look for ingredients like hydrolysed silk, wheat, or rice protein. These will fortify your hair without making it feel heavy or straw-like.
- For Coarse or High Porosity Hair: Your hair can handle—and probably needs—a more intensive protein. Ingredients like keratin, collagen, or animal protein are brilliant because their larger molecules are better at filling the more significant gaps in a porous hair cuticle.
Once you’ve put in the work to repair the damage, you’ll want to protect your results. Using the right follow-up products is key. Switching to the best shampoo for damaged, colour-treated hair will help you maintain that newfound strength. A gentle, sulphate-free formula won't strip away the proteins you just added, keeping your hair resilient, soft, and healthy for much longer.
Your At-Home Protein Treatment Application Guide
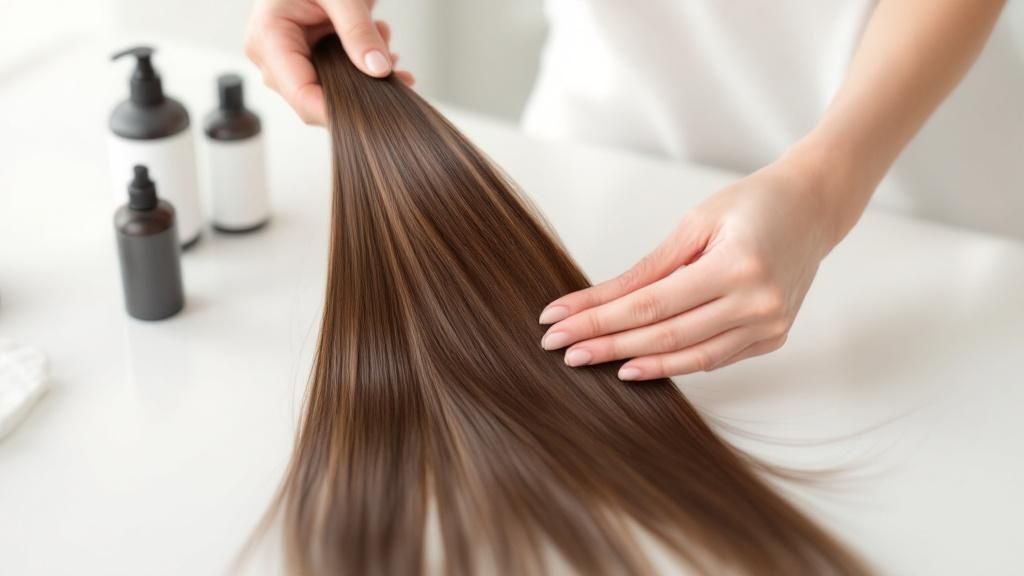
Alright, this is where the magic happens. You've picked out your protein treatment, and now it's time to apply it like you've been doing it for years. Getting this part right is what will turn those fragile, unhappy strands into a resilient, glossy mane. It's all about the technique.
First things first, and this is non-negotiable: you absolutely must start with squeaky-clean hair. I’m not talking about your regular wash—you need to use a good clarifying shampoo. Think about it: daily conditioners and styling products leave behind a film that can completely block the protein from getting into the hair shaft. A clarifying shampoo strips all that away, opening up the hair's cuticle so it’s primed and ready to soak up all that strengthening goodness.
Once you’ve washed, gently squeeze out the excess water with a towel. You want your hair to be damp, not sopping wet. This helps the treatment spread more easily and evenly.
Perfecting Your Application Technique
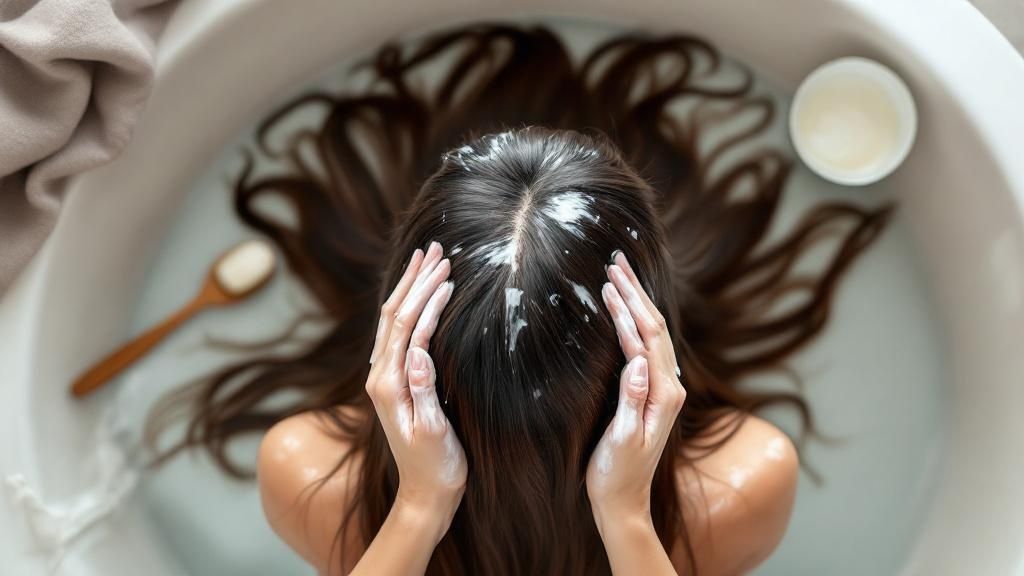
Now for the main event. The goal here is to get every strand coated without drowning your scalp in product. The easiest way to do this is to section your hair.
Grab some clips and split your hair into four manageable parts—two at the front, two at the back. If your hair is super thick, don't be afraid to create even more sections. Working methodically like this ensures you don't miss a single spot.
I always recommend starting with one of the back sections. Squeeze a small amount of the treatment into your palms and begin working it through your hair, focusing on the mid-lengths and ends. Crucially, stay about an inch away from your scalp. Slathering protein directly onto your roots is a recipe for buildup and can leave your hair feeling heavy and greasy. Remember, your ends have been around the longest and have seen the most action, so they need the most love.
After applying the product to a section, grab a wide-tooth comb and gently glide it through. This little step is brilliant for ensuring an even coating and helps to detangle without causing more breakage. Keep going, section by section, until your whole head is covered.
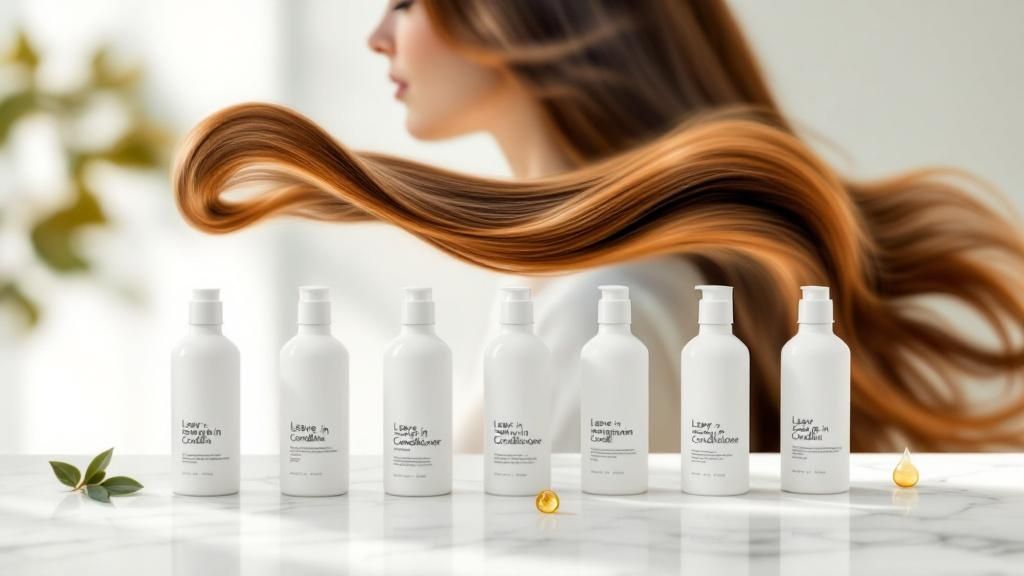
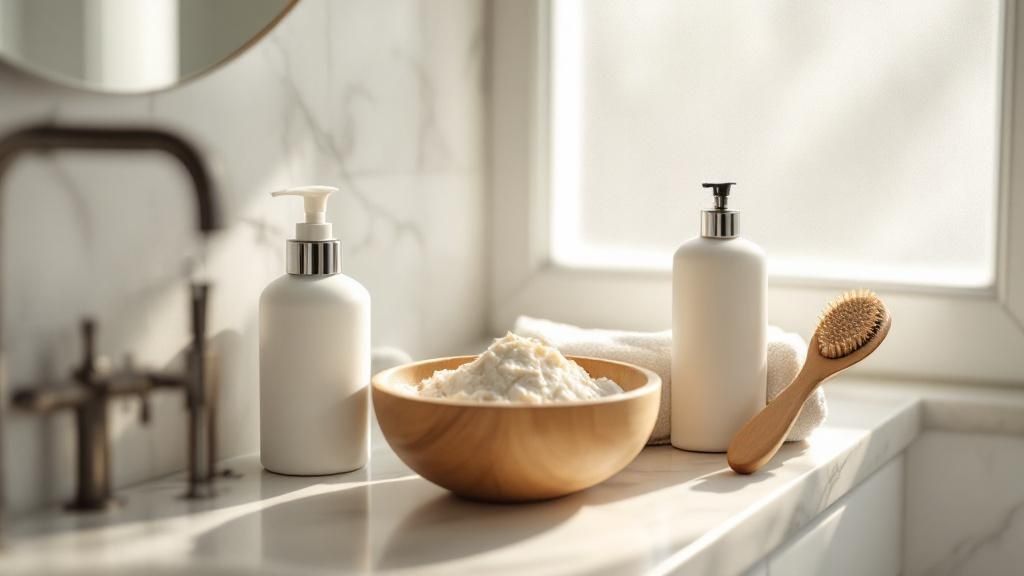
This visual guide shows a variety of protein formulas, from lighter options for fine hair to more intensive treatments for significant damage.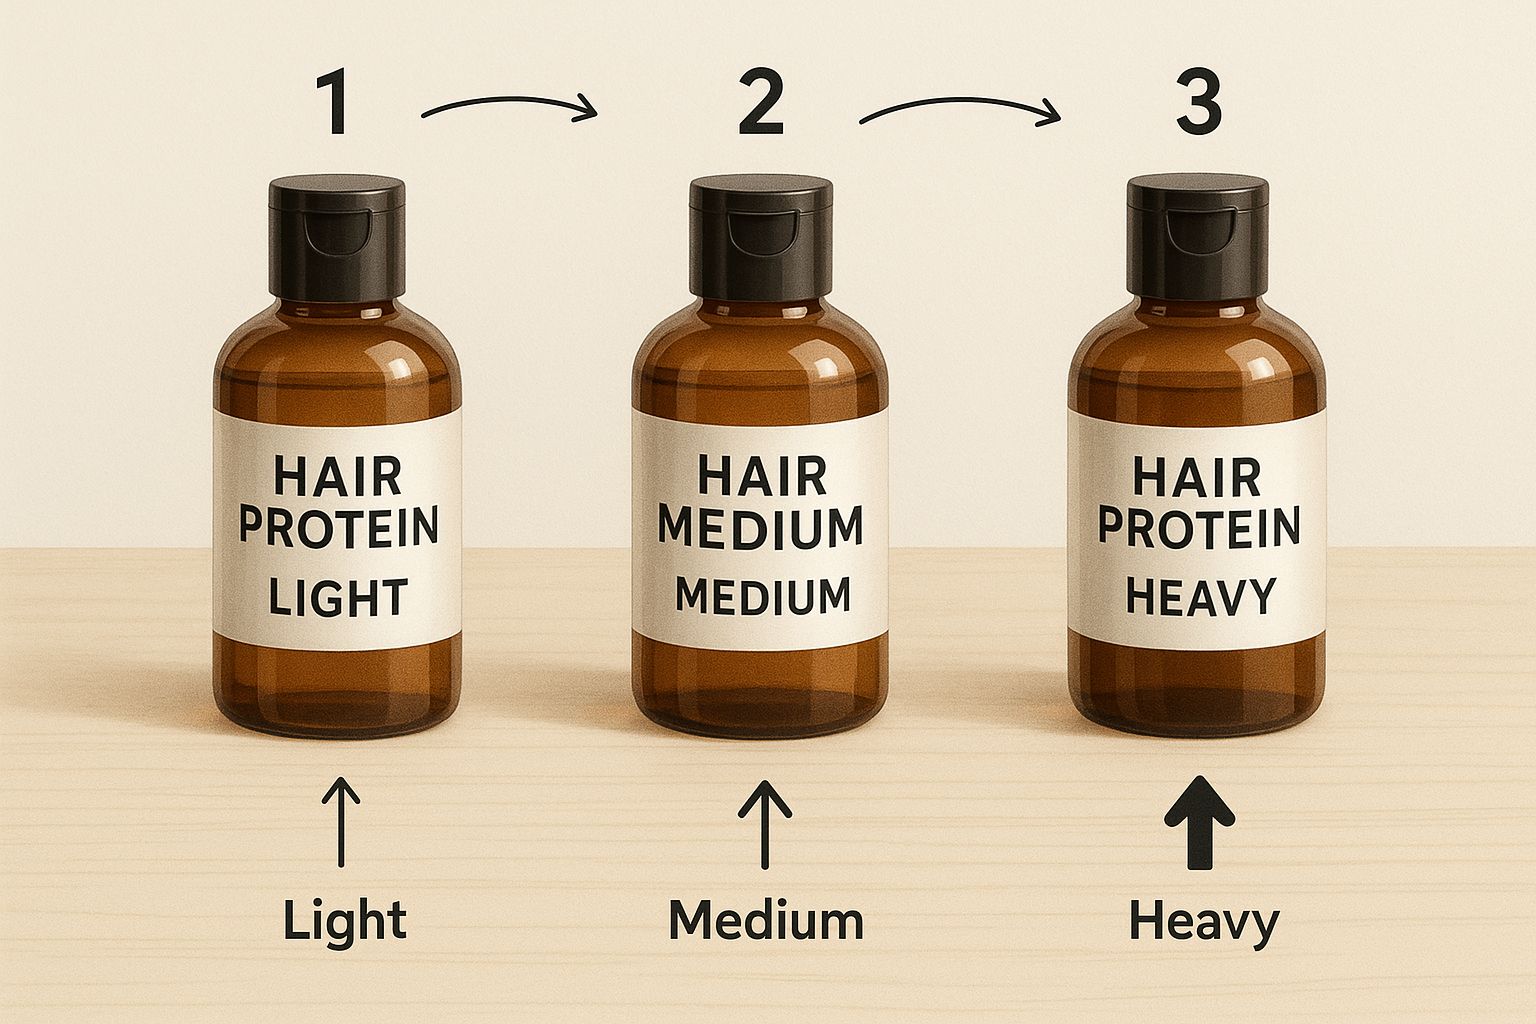
The main takeaway here? Not all protein treatments are the same. It’s vital to pick one that actually matches what your hair is going through.
Processing Time and Adding Heat
With your hair fully saturated, it’s time to let the treatment get to work. Check the bottle for the recommended processing time and stick to it. This isn't a "more is more" situation. Leaving a protein treatment on for too long can backfire, causing something called "protein overload," which ironically makes hair stiff and brittle.
A question I get asked all the time is whether to add heat. The answer is yes, a little gentle heat can be a game-changer. It encourages the hair cuticle to swell slightly, allowing the protein to penetrate much more deeply. This is especially helpful if you have low-porosity hair that tends to resist just about everything.
You don't need a fancy salon dryer. Just pop on a plastic processing cap (a simple shower cap works perfectly) and then wrap a warm, damp towel over it. You can heat the towel in the dryer for a minute or by soaking it in hot water—just be sure to wring it out well! This creates a lovely, warm, steamy environment that helps the treatment perform at its best.
The Final Rinse and Follow-Up
When the timer goes off, it's rinsing time. Hop back in the shower and use lukewarm water to rinse everything out. And when I say rinse, I mean rinse thoroughly. You need to get every last bit of the product out to avoid a heavy or stiff feeling once your hair dries. Keep rinsing until the water runs clear and your hair no longer has that "slippery" feel.
Whatever you do, don't shampoo again! That clarifying wash at the beginning was all the cleansing your hair needs for this process.
What comes next is just as important as the treatment itself. We’ll dive deep into this in the next section, but the short version is this: you must follow up with a deeply moisturising conditioner or mask. This crucial step restores the delicate protein-moisture balance, leaving your hair strong and soft, not brittle.
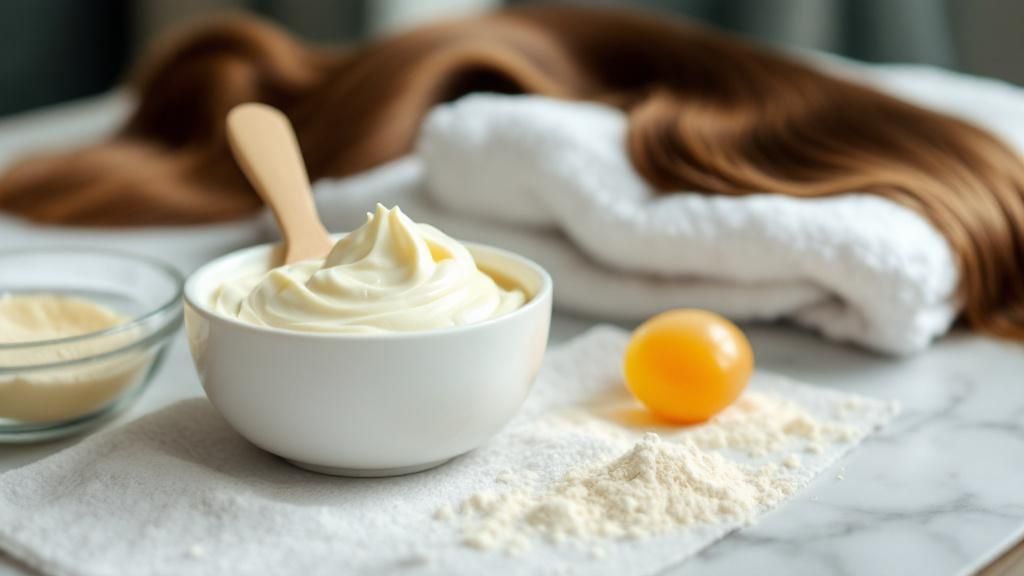
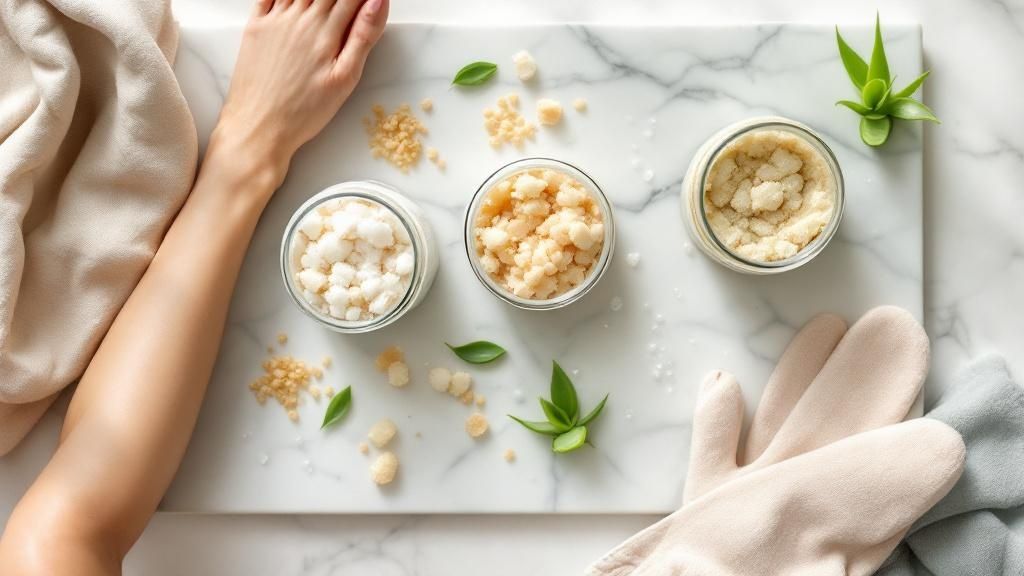
Natural DIY Protein Masks from Your Kitchen
If you’re a fan of a good kitchen project or simply prefer a more natural approach, you don't need to look any further than your own fridge for a powerful hair protein treatment at home. Your kitchen is probably already full of ingredients that can breathe new life into tired, weakened hair. These DIY masks are not only effective and budget-friendly, but they also give you total control over what you're putting on your hair.
The real beauty of homemade treatments lies in their simplicity. Things like eggs, Greek yoghurt, and even unflavoured gelatin are bursting with the proteins your hair is crying out for. They get to work fortifying the hair cuticle, helping to restore strength and elasticity with each use.
My Favourite Egg and Yoghurt Mask
This is my absolute go-to recipe for a quick, intensive protein boost, especially when my hair starts feeling brittle. The protein from the egg and the lactic acid in the yoghurt make a brilliant team for strengthening and softening your strands.
Here’s how to whip it up:
- Whisk one whole egg in a bowl.
- Stir in two tablespoons of plain Greek yoghurt until you get a smooth, consistent paste.
- If you need an extra dose of moisture, add one tablespoon of olive or coconut oil.
Once it's ready, apply the mixture to clean, damp hair. I always make sure to focus on the mid-lengths and ends, as that's where damage tends to show up the most. Let it sit for about 20-30 minutes before rinsing it out completely.
A critical pro-tip: Always, and I mean always, rinse out egg-based masks with cool or lukewarm water. If you use hot water, you risk cooking the egg right in your hair. Trust me, it creates a scrambled mess that is a nightmare to get out. It’s the most common DIY disaster, but so easy to avoid!
Gelatin for Fine or Limp Hair
For those with fine hair that gets weighed down by practically everything, unflavoured gelatin is a fantastic alternative. Its protein structure is surprisingly similar to the keratin in our own hair, which allows it to bind to individual strands. This creates a strengthening film that adds noticeable body and thickness.
This treatment is so effective because it literally fills in the porous gaps along the hair cuticle. In fact, research on protein penetration has shown that smaller protein molecules can increase the hair fibre's cross-sectional area by up to 11.7%, repairing it from the inside out. You can dive into the full research about hair fibre repair if you want to understand the science behind it.
Of course, after any treatment—whether it's DIY or from a bottle—maintenance is everything. If your hair is coloured, you'll want to follow up with gentle products that protect both your colour and the protein you've just added. To help your results last, you might find our guide on the best shampoo for coloured hair really helpful.
Maintaining Strong Hair After Your Treatment
https://www.youtube.com/embed/8o9aMbJ2Cmk
Getting a successful hair protein treatment at home is a fantastic start, but the real magic to keeping that strength and shine comes down to what you do afterwards. Think of it like this: you've just reinforced your hair's foundation, and now you need to protect that hard work with a smart aftercare routine.
The most important thing you can do right after a treatment is to put moisture back in. Protein treatments work by filling in the gaps in your hair shaft, which is great for strength but can leave your hair feeling a little stiff. Following up immediately with a rich, moisturising mask isn't just a suggestion—it's essential. This step is what restores the delicate protein-moisture balance, giving you hair that's both strong and beautifully flexible, not brittle.
Building Your Long-Term Strategy
Keeping those gorgeous results isn't about a single event; it's about building a consistent routine that supports your hair's health. Your newly strengthened hair is now your most prized asset, so it’s time to treat it like one.
A great place to begin is with your wash day. Make the switch to a sulphate-free, moisturising shampoo for your regular cleansing. Why? Because harsh detergents found in many standard shampoos can strip away the protein you just painstakingly applied, essentially undoing all your good work and leaving your hair fragile again. Gentle cleansing is your new best friend.
The goal is to create a hair care system where strength and moisture work in harmony. Too much protein leads to brittle hair, while too much moisture can make it weak and mushy. Your post-treatment care is all about keeping that perfect balance.
Fine-Tuning Your Hair Care Routine
Beyond just your shampoo, a few simple habits can make a world of difference in how long your results hold up. One of the biggest game-changers is cutting back on heat styling. And when you absolutely must use a straightener or curling wand, never skip the heat protectant spray. It forms a crucial barrier that shields your delicate strands from high temperatures.
So, how do you know when it’s time for another round? Your hair will tell you. There's no rigid schedule that works for everyone. As a general guideline, a powerful protein treatment is typically only needed every 4-6 weeks. Overdoing it can cause protein overload, which ironically leads to the same stiffness and breakage you were trying to fix. Pay close attention to your hair's texture—if it starts feeling limp, overly stretchy, or weak, that's your signal.
This aftercare phase is every bit as important as the treatment itself. If you're ready to find the perfect moisturising follow-up, our complete guide on creating an effective deep conditioning treatment at home is the perfect next read for locking in both strength and hydration.
Answering Your Protein Treatment Questions
Doing a hair protein treatment at home for the first time? It's completely normal to have a few questions. Honestly, getting the timing and application right is what separates amazing results from a hair mishap. Let's tackle some of the most common things people ask.
The biggest question I always get is about how often to do it. A real protein treatment is a serious repair mission, not your everyday conditioner. For most people, every 4-6 weeks is the sweet spot. This gives your hair a chance to soak up all the benefits without getting overwhelmed.
Can You Go Overboard with Protein?
Oh, absolutely. It even has a name: "protein overload." This is what happens when you either do treatments too often or use one that's way too potent for what your hair actually needs. Instead of getting that strong, silky feeling you were hoping for, your hair ends up feeling stiff, rigid, and strangely enough, extremely prone to snapping.
I like to explain it like building a wall. You need the bricks (protein) to create the structure, but you also need the mortar (moisture) to hold it all together and give it some give. All bricks and no mortar? You get a wall that will crumble at the slightest pressure. It's the exact same with your hair; it's all about finding that perfect balance.
Here’s the most important tip: listen to your hair. If it starts feeling stiff, like straw, or just unusually dry after a treatment, that's your signal to ease up. Put the protein away and switch to some serious deep conditioning for a while. Your hair’s needs aren't static—they change with the seasons, your styling habits, and even your diet, so being flexible is key.
Protein vs. Moisture: What's the Actual Difference?
This is a core hair care principle that gets mixed up all the time, but they play two very different—and equally vital—roles.
- Protein is all about structure and strength. Think of it as patching up the holes and weak spots in your hair's outer layer, the cuticle. This is what makes your strands resilient and stops them from breaking. If your hair feels mushy when wet, limp, or overly stretchy, it's begging for a protein boost.
- Moisture is what gives you softness and elasticity. It’s the hydration that makes hair feel supple, flexible, and manageable. If your hair feels rough, dry, or brittle to the touch, it's parched and needs moisture, stat.
People are more clued-up about hair health than ever, and that's fuelling a global demand for treatments that work. While we're still gathering specific data for Egypt, we can look at nearby markets like Europe, where restorative therapies are huge. Germany's hair restoration market, for example, which includes protein-based products, was valued at USD 195.6 million in 2023 and is only expected to grow. You can discover more insights about hair restoration market trends on grandviewresearch.com. This just shows that people everywhere want treatments that genuinely repair and strengthen hair, which is exactly what a good at-home protein treatment delivers.
Ready to give your hair the strength it's been craving? Check out the hand-picked collection of authentic, high-performance hair treatments at lo.la to find your perfect match. Shop now at lolabeautyshop.com and get started on your journey to healthier hair.
7 Proven Dry Scalp Remedies to Try in 2025
7 Best Leave in Conditioner for Dry Frizzy Hair in 2025
Related Posts
Cleanance from Avene: Your Guide to Clearer Skin
Your Guide to CHI Hair Silk Infusion
7 Best Leave in Conditioner for Dry Frizzy Hair in 2025

7 Proven Dry Scalp Remedies to Try in 2025
7 Best Exfoliating Body Scrub for Ingrown Hair Picks in 2025
Your Guide to a Daily Body Care Routine


